Hi Board builders,
I finally got around to photographing my fins& mould.
You can find a similar moulding technique on the Freeshaper website (might need to brush up on your French)
www.freeshaper.com/kite/index.php?rub=MAKING&ssrub=FinsMy wife & I attended a moulding class @ Adelaide moulding & Casting, her for resin jewellery & me for the fins.
As I have stated before you may need to weigh up the cost of making your own vs. buying outright.
A quick add up for my type of mould would be approx $70.00 +
Kleen Klay $5.25
Pinkysil $33.60
“Stoner E302 Rocket Release” Spray release agent $ 23.10
Enough Epoxy for fins $??
Freight for online purchases $??
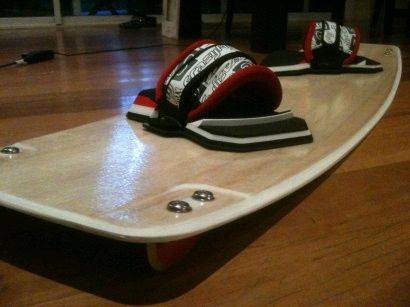
These are just some of the fins that I have moulded
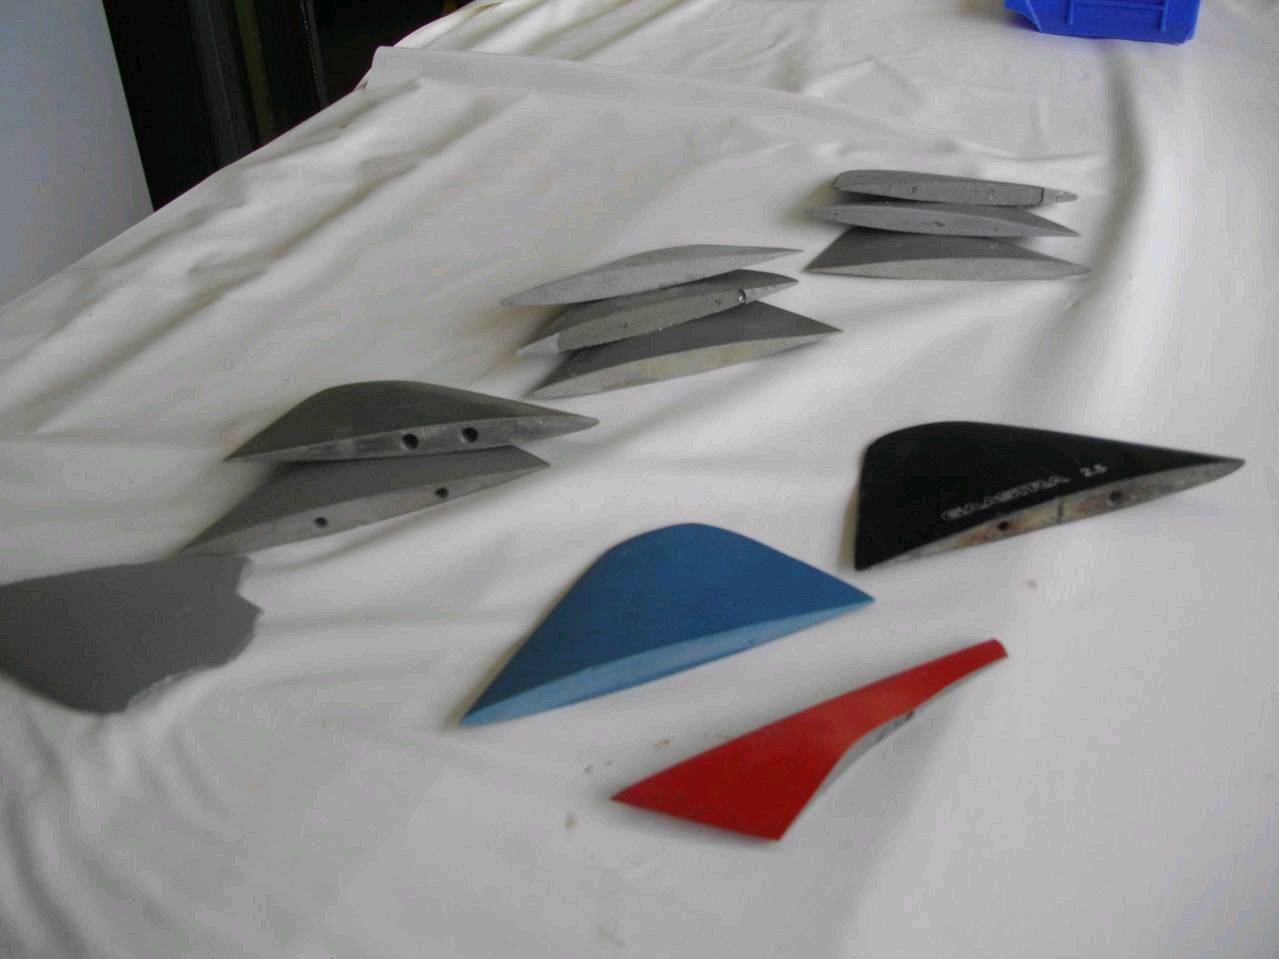
The fins I have created so far have been without reinforcing i.e. no matt in the fin.
They tend to break easier than the original fins. Difficulties easily overcome by the addition of scrap matt.
I use a grey epoxy paste which is similar density to normal fluid epoxy which has been thickened with micro balloons etc.
I have not experimented with fluid epoxy but that may come soon.
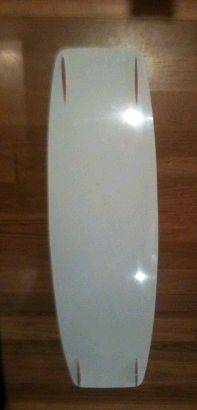
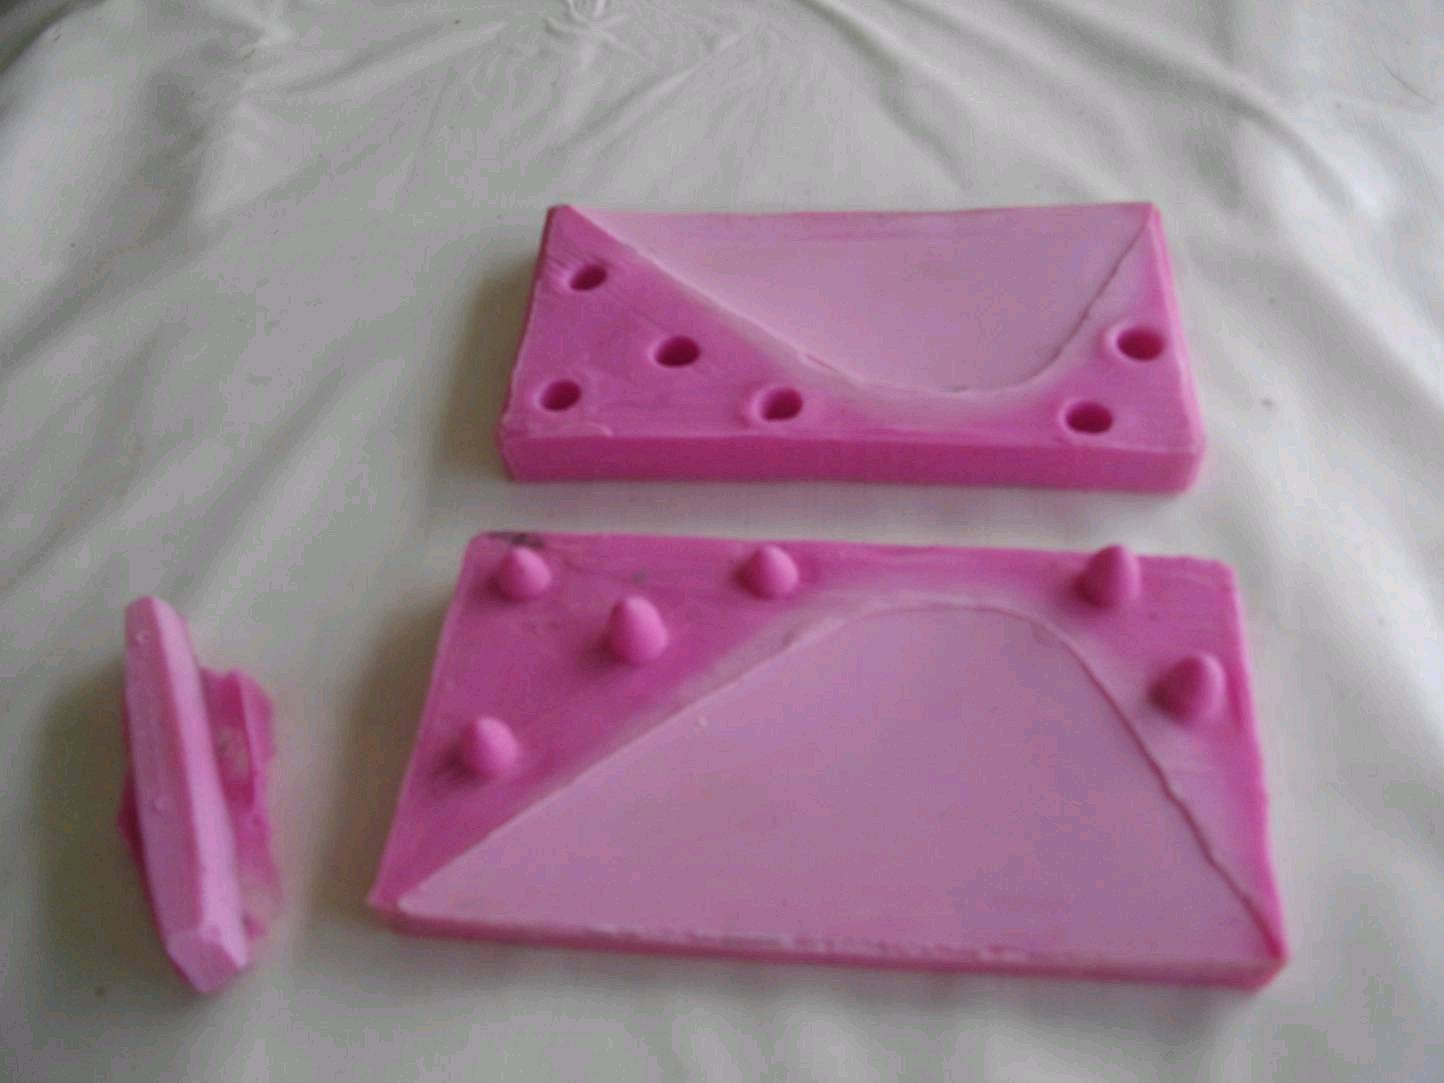
The Mould
Mine is a 2 piece mould, sometimes referred to as a Splat mould.
Find a reservoir (mine is a rectangular plastic box)
Embed half of your original fin in the clay to half the depth of the reservoir.
Smooth the clay flat. Poke some indents in the surrounding clay with a pen/pencil to create locating pins for the mould. (see pic )
Spray with release agent (important step)
Pour the top full of silicone & let fully cure
Clear out your reservoir of clay etc.
Place your cured first half of the mould into the reservoir.
Place your original fin on this cured half .
Spray with release agent (important step)
Pour the top full of silicone & let fully cure.
This should result in a two piece mould (with locating pins).
You can use the 2 piece mould clamped together & pour in epoxy or you can use the same method as me & thicken the mix and lay into 2 pieces then “splat” together, hence the name.
If you are pouring in your epoxy you should pour from a high position to get a thin, slow stream of epoxy into the mould. This reduces/breaks bubbles entering into the mould.
My original fins were 65 mm high, so I made an extra silicone mould piece to fit into the top of my mould hence reducing the height to 50mm.
A stumbling point for most will be the threaded holes in the fin. Get them wrong & the fin will break out on the sides. (Unless you mould really fat fins).
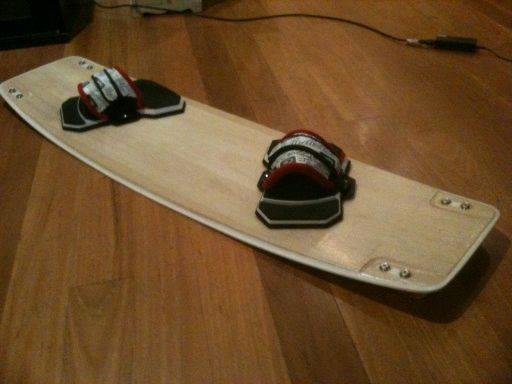
I have had two differing fin mounts. The first was to shave the heads of 6mm stainless bolts then embed the heads into the fin. I attached the fins using nylock nuts (ugly but strong).
**note If my un-reinforced fins break, it is usually below the level of the threads, (see red broken fin in the pics).
The preferred method I use is to drill & tap the holes (10-24 UNC), as per the usual method on most boards.
Cheers
Fossil