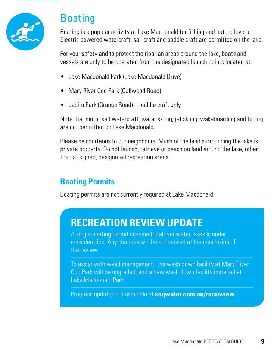
Welcome to this short eLearning lesson on how to mount a video camera onto the nose of your SUP.
You will need: - a waterproof digital camera with video capability (a 2GB memory card is also recommended to capture one hour of continuous video) - eBay $110; - a glazier's suction cup - eBay $20; - some scrap deck grip - the shed $0; - a short tie-down strap - Bunnings $5; and - a water ski rope float - Whitworths $3.
/images/misc/forum-image-missing.gif
Step 1 Drill a series of 4mm holes in one side of the fixed handle of the suction cup to create a slit as wide as the tie-down strap. Repeat for the other side.
Step 2 Feed the tie-down strap through each of the slits so the buckle of the strap is at the back of the suction cup (where the lever handle is). Using these slits will stop the strap from sliding off.
Step 3 Thread the water ski rope float onto the end of the tie-down strap. Tie a figure eight knot on the end so it cannot slide off. This is necessary as the complete unit doesn't float without adding this extra piece of buoyancy.
Step 4 Grind a step into the front of the suction cup for the base of the camera to lock into.
/images/misc/forum-image-missing.gif
Step 5 Stick some scrap deck grip above the step to enhance the height of the step and to add a bit of padding for the camera.
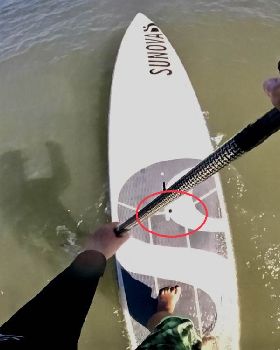
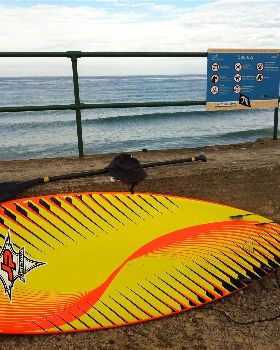
Step 6 Place the suction cup in the appropriate position on the nose of your board. It should be dead centre and as far forward as possible while still remaining on a flat part of the board.
/images/misc/forum-image-missing.gif
Step 7 Lock the suction cup in place by raising the lever handle. Make sure it goes on the inside of the tie-down strap.
/images/misc/forum-image-missing.gif
Step 8 Attach the safety strap on the camera to the tie-down strap. This allows everything to stay together in the event of a "suck-off".
/images/misc/forum-image-missing.gif
Step 9 Seat the camera (on its side) inside the strap at the front of the suction cup. The bottom of the camera should fit in front of the step you grinded earlier. The camera on its side allows more height of the surfer to be viewed without needing an expensive wide angle lensed camera. You will need to rotate your final video clip by 90 degrees during the editing process.
/images/misc/forum-image-missing.gif
/images/misc/forum-image-missing.gif
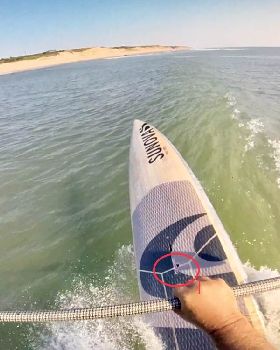
Step 10 Tighten the strap as hard as it can go.
/images/misc/forum-image-missing.gif
Final Front View:
/images/misc/forum-image-missing.gif
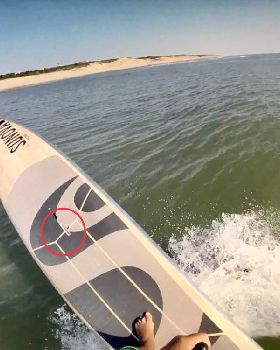
Final Rear View:
/images/misc/forum-image-missing.gif
Now, get out there and rip it up. Just start the camera recording before you paddle out and keep surfing until the memory card runs out.
Don't forget to share your videos with everyone via YouTube and SeaBreeze.
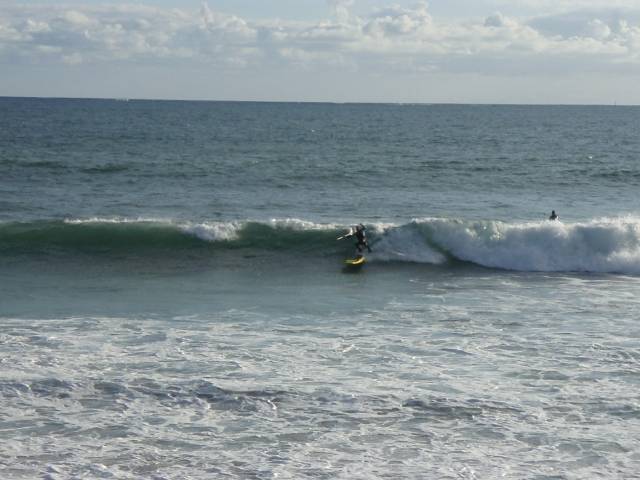
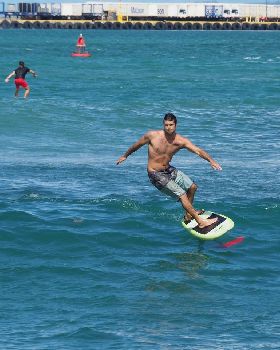
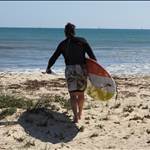
Here are some photos from yesturday. Sorry about the quality. I reduce the original size so its quicker to upload Miller taking his virgin canary yellow JL 10'4
The next four photos are of some waves that went by unridden... But thats ok because it was onshore
Whats that!? I wanna ride that!
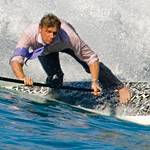
Slicing that wave up very nicely.
Up up and away
Look someone dropped 50 bucks... yoik!
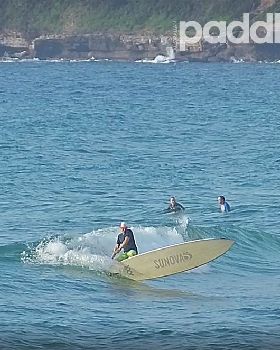
WATCH OUT FOR THAT STEP MILLER!
Oops... I guess he didnt hear me
The famous 'Ghostie'. I taught Miller this move. Only special people have the ability to pull this off